An LED video wall installation begins long before the first cabinet is lifted into place. For a Canadian facility manager, general contractor, architect or AV buyer, the condition of the building often determines whether installation day is orderly—or becomes an expensive sequence of electrical changes, structural questions and access delays.
This guide explains how to prepare a commercial building for a permanent indoor LED video wall. It focuses on the decisions owners can coordinate early: the mounting surface, permits, power, data, ventilation, service access, delivery route, finishes and operating plan. Final requirements must always come from the selected display design, the authority having jurisdiction and qualified structural and electrical professionals.
Start with a site survey and a defined use case
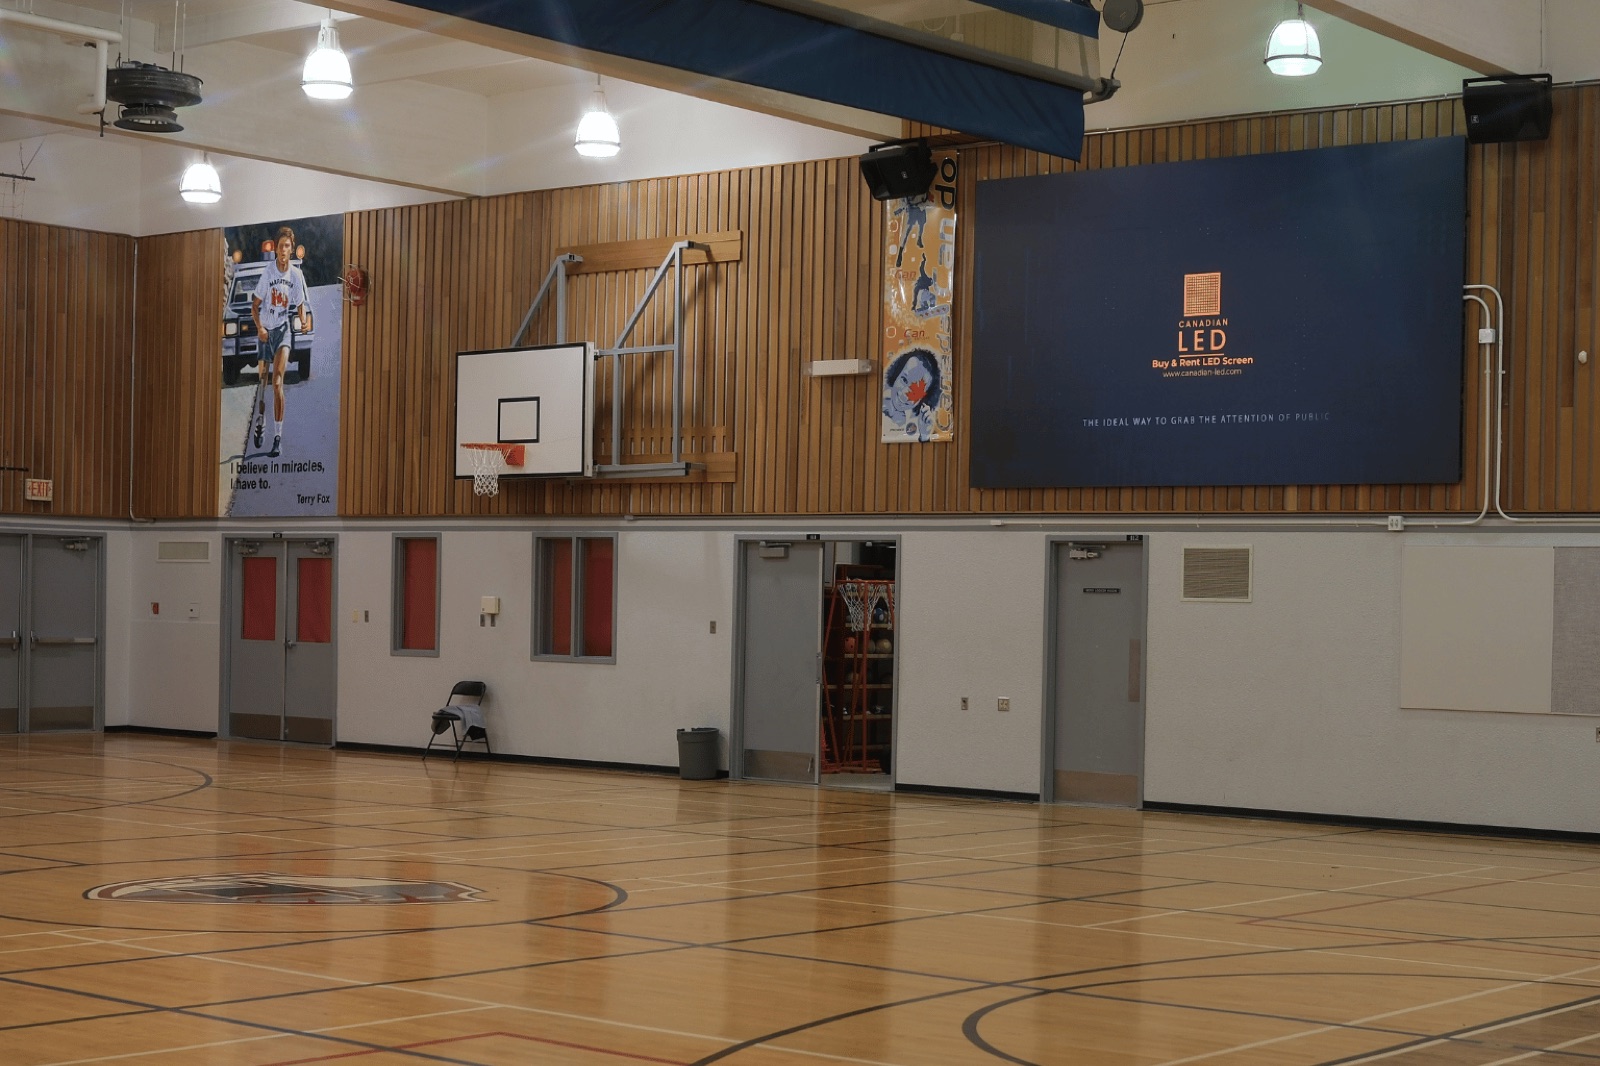
Do not design the wall from a screen-size wish alone. Begin with the room and the people who will use it. Confirm the closest and typical viewing distances, ambient light, sightlines, content types, operating hours and required image dimensions. A lobby brand wall, a school gym scoreboard and a boardroom presentation display may have similar dimensions but very different pixel pitch, brightness, protection and control requirements.
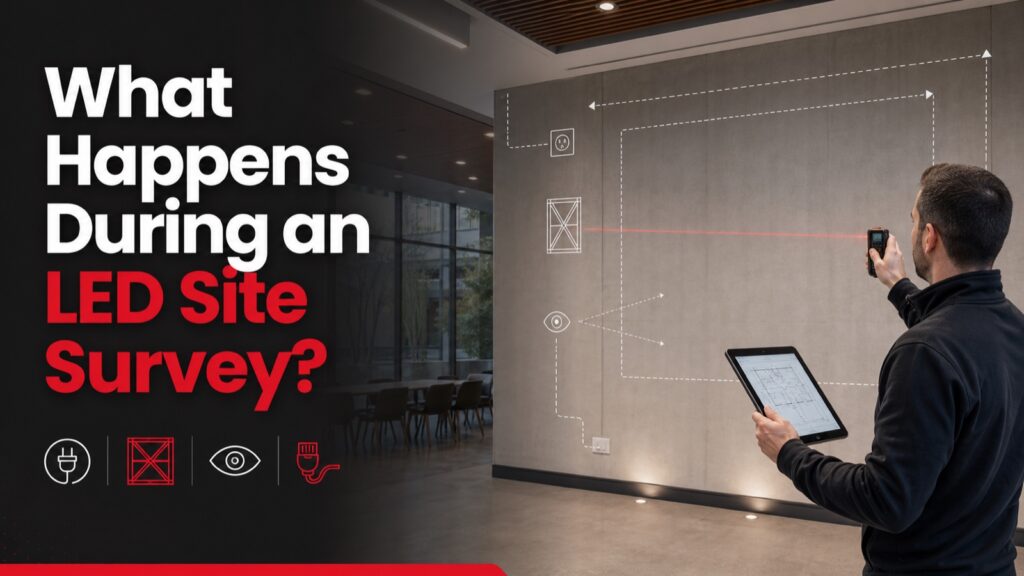
A professional survey should document wall construction, structural attachment points, available electrical service, pathways for power and data, ventilation conditions, equipment-rack location, floor loading, working height and installation access. It should also record nearby sprinklers, fire alarm devices, exit signs, doors, mechanical systems and anything else the installation must not obstruct.
Bring the building owner, facilities team, electrical contractor, network or AV team and LED integrator into the conversation early. That short coordination meeting is usually less costly than moving conduit, opening a finished wall or changing cabinet orientation after equipment arrives.
1. Confirm the structure before finalizing the display
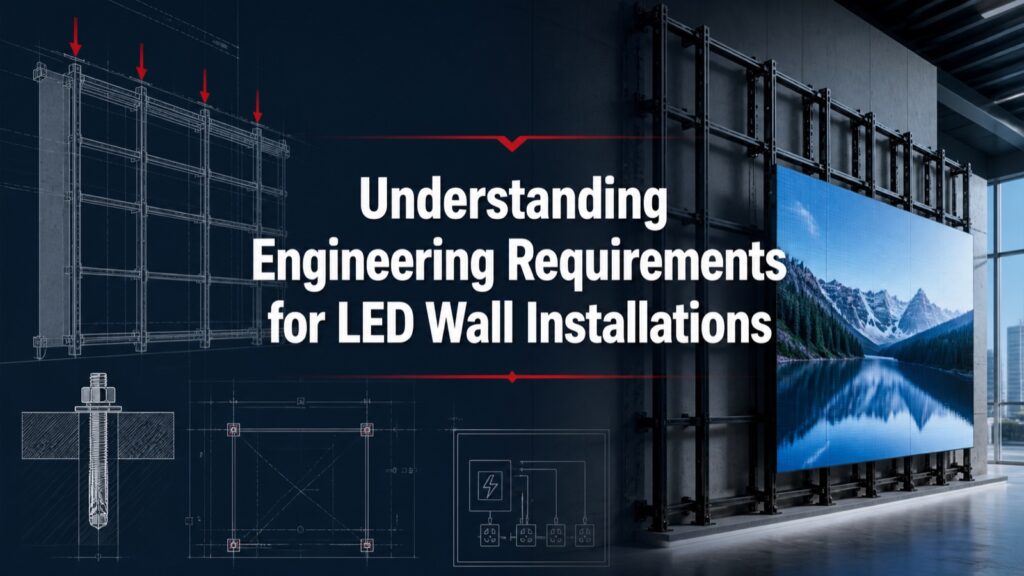
An LED wall is an assembly of cabinets, mounting hardware, cables and trim—not a lightweight television. Ask the integrator for the complete installed weight, cabinet layout, mounting reactions and required tolerances. Then have the supporting wall or independent structure reviewed by the appropriate qualified professional. Drywall alone is not a structural attachment point; the design may need backing, steel, concrete anchors or a purpose-built frame.
Structural review should happen before architectural finishes are complete. It is much easier to add reinforcement while framing is exposed. The review should also consider the installation method, access for fastening, cabinet replacement and any movement or vibration associated with the building or nearby equipment.
Canadian code adoption and permitting are provincial or territorial, with local administration. The National Research Council notes that alterations to existing buildings can engage concerns such as structural integrity, fire safety and accessibility. In Alberta, building alterations and regulated equipment may require review by the local authority having jurisdiction. Treat permit confirmation as an early project task, not an installation-week formality.
2. Plan dedicated electrical capacity
Obtain the display’s maximum and typical power figures from the final cabinet configuration. The electrician needs more than a generic wattage estimate: provide cabinet counts, distribution plan, voltage, connector type, circuit grouping, control equipment loads and the proposed disconnect location. Allow for processors, network equipment and any auxiliary gear, not just the LED cabinets.
Dedicated circuits reduce conflicts with lighting, receptacles and other building loads. Locate outlets or hardwired connection points so they remain accessible for approved servicing without leaving visible cables. Confirm bonding, grounding, overcurrent protection and disconnect requirements with the electrical designer and local inspector.
Alberta currently has the CSA C22.1-24 Canadian Electrical Code in force, and the province states that electrical installations and product safety fall under the Safety Codes Act. Electrical work and permits must be handled by appropriately qualified parties. The exact design should therefore be based on the approved equipment and site conditions—not a rule-of-thumb circuit count.
3. Separate and label signal, control and network paths
Decide where the video processor and source equipment will live. Then map the complete signal path from sources to processor and from processor to the LED wall. Include primary and backup data runs where uptime matters. Coordinate conduit size, bend radius, cable distance, penetrations and separation from power with the relevant trades.
For a network-connected system, involve IT before commissioning day. Confirm switch ports, VLAN or security requirements, static addressing, remote-support policy and internet access where needed. Label both ends of every permanent cable and record the final port map. A clean as-built diagram can save hours during a future service call.
4. Provide ventilation and a realistic service strategy
LED cabinets and power supplies release heat. The amount depends on wall size, brightness, content and operating hours. Ask for the system’s heat-load information and have the mechanical team confirm that the room and any enclosed cavity can dissipate it. Do not block existing air returns or assume a narrow sealed recess will remain cool.
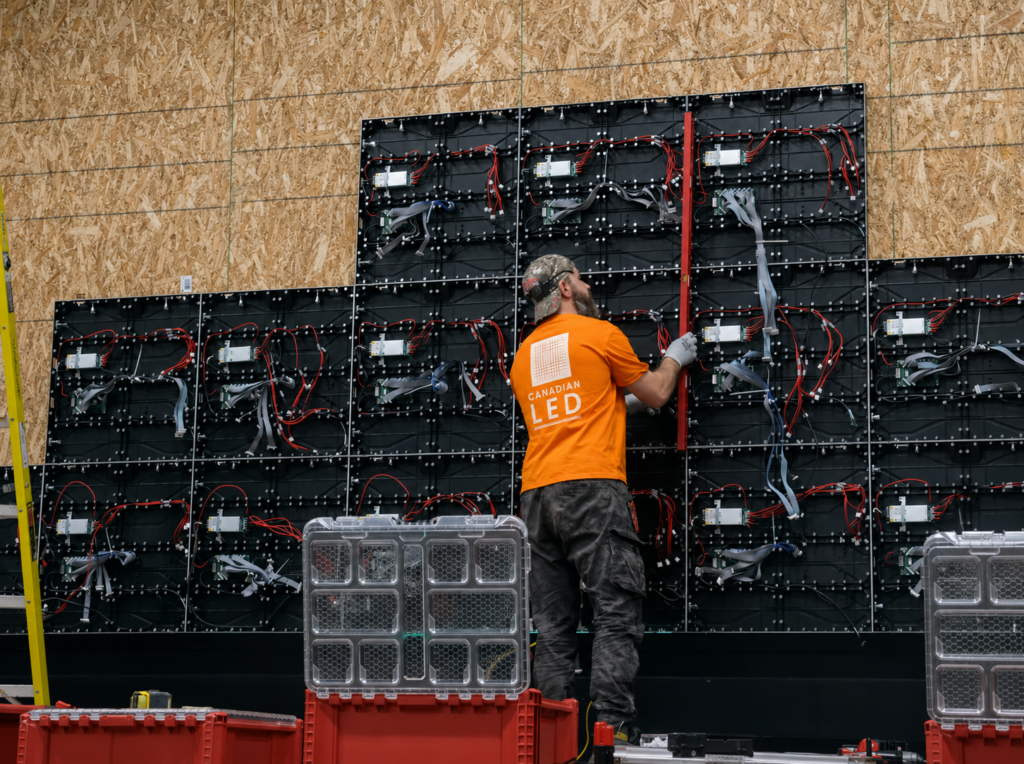
Choose front-service or rear-service cabinets intentionally. A rear-service design needs a safe, accessible working space behind the display; a front-service system still needs a plan for removing modules, power supplies and receiving cards without damaging finishes. Keep electrical and data connections reachable under the approved maintenance procedure.
5. Protect clearances, life-safety systems and accessibility
Review the proposed wall against doors, exit routes, sprinklers, detectors, speakers, signage, guardrails and accessible circulation. The display, trim and support structure must not conceal required devices or reduce safe movement. If the project changes wall assemblies or penetrates rated construction, coordinate the required firestopping and inspection.
A wall-mounted display also changes how people interact with the room. Check glare and brightness at occupied positions, maintain comfortable viewing angles and keep controls usable by the intended operators. For public-facing installations, consider physical protection, tamper resistance and how cleaning staff will work around the screen.
6. Plan delivery, lifting and room access
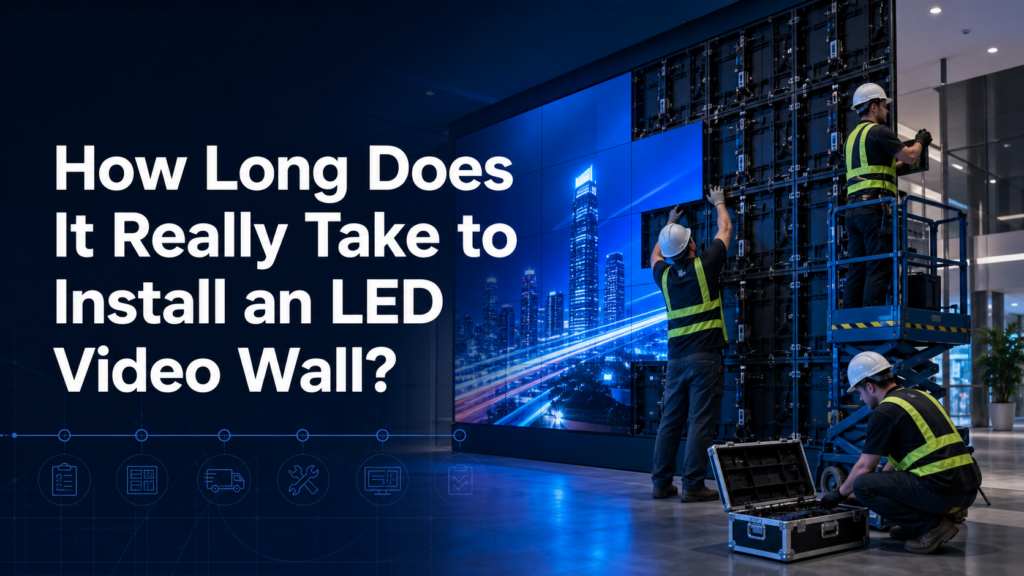
Trace the route from loading area to final location. Measure doors, corridors, elevators and turning points against the largest packed component—not only a bare cabinet. Confirm dock hours, parking, elevator bookings, floor protection and secure staging space. Identify who controls keys, alarms and after-hours access.
The installation team may need lifts, scaffold or other access equipment. Verify ceiling height, floor capacity, overhead obstructions and whether the selected equipment can reach the work face safely. Isolate the work zone from occupants and coordinate noise, dust and shutdown windows with building operations.
7. Finish the wall in the right sequence
Agree on the interface between LED frame, surrounding millwork and wall finishes. Record the exact rough opening, finished dimensions, datum lines and tolerances. Complete reinforcement, conduits and inspections before closing the wall. Paint and millwork should follow the approved shop drawings while preserving fastener and service access.
Avoid designing trim that traps a cabinet or prevents a module from being removed. Where the display is recessed, coordinate ventilation openings and shadow gaps. Protect finished surfaces during installation and keep spare finish materials available for final touch-ups.
8. Prepare content and operators before commissioning
Physical readiness is only half the project. Confirm the wall’s native pixel canvas, accepted inputs, aspect ratio and content workflow. Prepare test patterns, brand assets and representative videos at the correct resolution. Decide who can publish content and where source devices will connect.
At handoff, request operator training, approved brightness settings, shutdown and startup procedures, configuration backups, warranty documents, spare-parts inventory and as-built drawings. Record who to contact for display, electrical, network and structural issues. Photograph concealed pathways before walls are closed.
LED video wall building-preparation checklist
- Use case, viewing distances, brightness and final dimensions approved
- Site survey and coordinated shop drawings complete
- Installed weight, mounting reactions and structural support reviewed
- Building and electrical permit requirements confirmed locally
- Dedicated power, grounding, disconnects and equipment locations approved
- Signal, control and network pathways installed and labelled
- Heat load, ventilation and service clearance confirmed
- Life-safety devices, exits and accessible circulation protected
- Delivery route, lifting equipment, staging and work-zone plan confirmed
- Wall finishes, millwork, trim and tolerances coordinated
- Content, controls, training and handoff documents ready
Prepare once, install with confidence
The best installation day is intentionally uneventful. The wall is structurally ready, circuits are live and labelled, data paths are tested, access equipment fits, finishes match the drawings and every trade knows its responsibility. That outcome comes from resolving building questions while changes are still inexpensive.
Canadian LED supports permanent and temporary indoor display projects across Canada. Explore our indoor LED screen solutions in Alberta, review completed Canadian LED installations, or contact our LED wall team to arrange a site review and project-specific recommendation.
Frequently asked questions
Does an LED video wall installation require a building permit?
It may. Requirements depend on the jurisdiction, the supporting structure, the extent of the alteration and related electrical or life-safety work. Ask the local authority having jurisdiction before construction and have the structural and electrical scopes reviewed by qualified professionals.
How much power does an LED video wall need?
Power depends on the exact cabinet model, wall size, brightness and configuration. Use the manufacturer’s maximum and typical load data for the final design. A qualified electrician should size dedicated circuits, protection, grounding and disconnects for the approved system.
Can an LED wall be mounted directly to drywall?
Drywall is a finish, not a suitable structural attachment by itself. The mounting system must connect to a verified supporting assembly such as engineered backing, steel, concrete or a purpose-built frame. The required solution depends on the installed loads and building construction.
How much space is needed behind an LED video wall?
That depends on whether cabinets are front-service or rear-service, the mounting design, ventilation and connection locations. Rear-service systems require safe working access. Front-service systems can reduce depth, but modules and internal components still need an unobstructed removal path.
When should electrical and data work be completed?
Complete rough-ins after the final shop drawings are approved and before walls or millwork are closed. Required inspections should be complete, circuits labelled and energized, and permanent data paths tested before the LED installation crew arrives.
What should be ready on installation day?
The work area should be cleared and protected; permits and prerequisite inspections should be complete; power and data should be available; the delivery route and lifting plan should be confirmed; and an authorized facility contact should be present to resolve site questions.
Authoritative references: Government of Alberta: Electrical codes and standards; National Research Council Canada: Alterations to existing buildings; ViewSonic: Questions to consider before installing a DVLED display.