We still remember the message we got from a pastor last spring:
“Our guitarist just clipped the screen during rehearsal. Did we just lose the whole wall?”
Messages like this land in our inbox more often than people expect.
A mic stand tips over. A kid runs across the stage during setup. Someone knocks a ladder into the display. And every time, there’s that moment of panic when it feels like a major investment has suddenly turned into a very expensive black rectangle.
At Canadian LED, we help churches through this exact situation on a regular basis. We work with church AV teams to diagnose problems, replace damaged modules, and keep LED displays looking seamless for years after installation.
In this article, we want to explain what actually happens when an LED module gets damaged, how repairs really work, and the one detail almost nobody tells you about until it’s already a problem.
How an LED Wall Is Actually Built
It helps to understand what’s behind the screen.
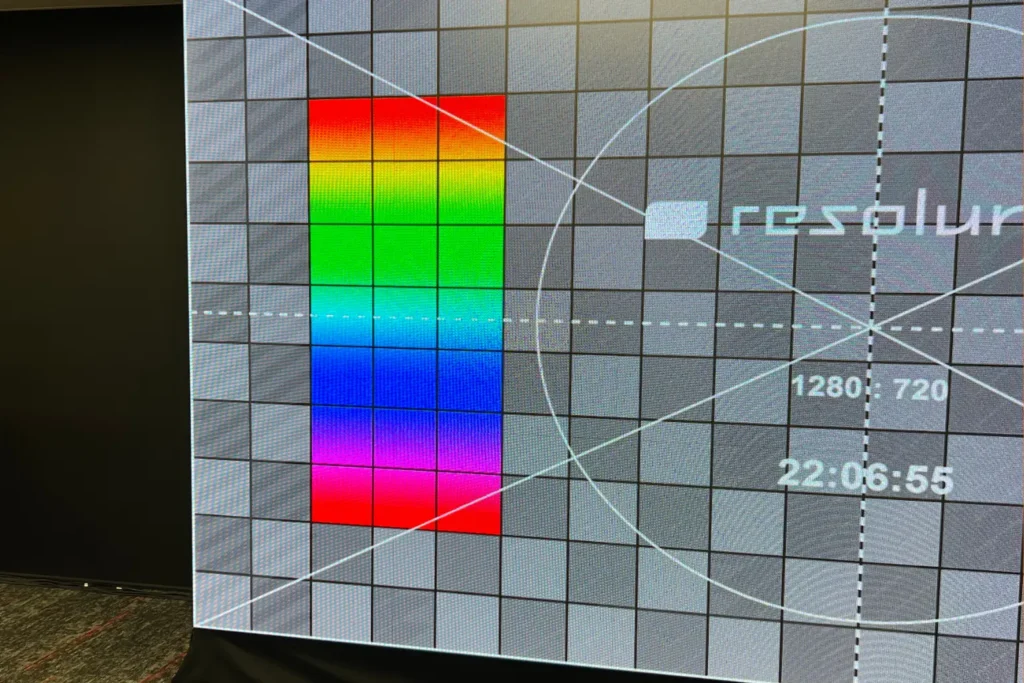
An LED wall isn’t one giant sheet of glowing pixels. It’s assembled from panels, and each panel is made up of individual modules, with every module containing hundreds of LEDs.
That layered structure is exactly why repairs are usually straightforward—as long as the system was designed with serviceability in mind from the beginning.
When something goes wrong, it almost always affects one module, not the entire wall.
It’s much closer to a tiled floor than a pane of glass: crack one tile, replace one tile.
The Most Common Issues We See
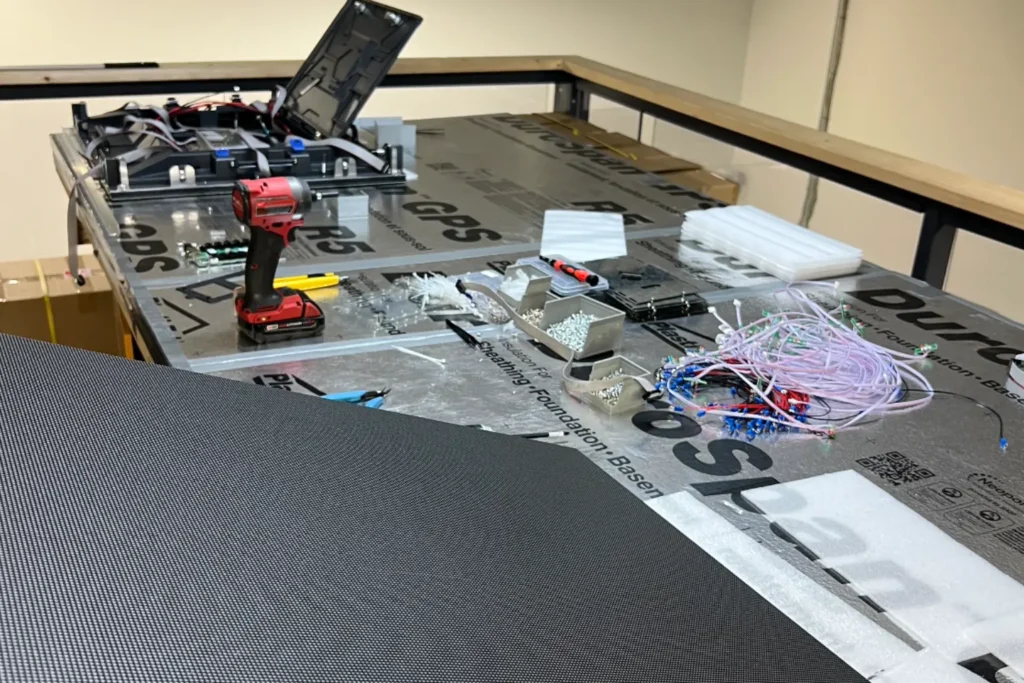
- Dark squares caused by a damaged module
- Flickering or glitchy pixels
- Clusters of dead pixels
- Impact damage from instruments, mic stands, or foot traffic
- Loose or bent LED diodes
- Areas where the color suddenly looks slightly different
None of these mean the wall is ruined.
They simply mean one module needs attention, which is a very different—and much less expensive—problem than replacing an entire panel.
How to Diagnose It Quickly
Before calling anyone, most AV teams can perform a simple test (assuming they have spare modules available).
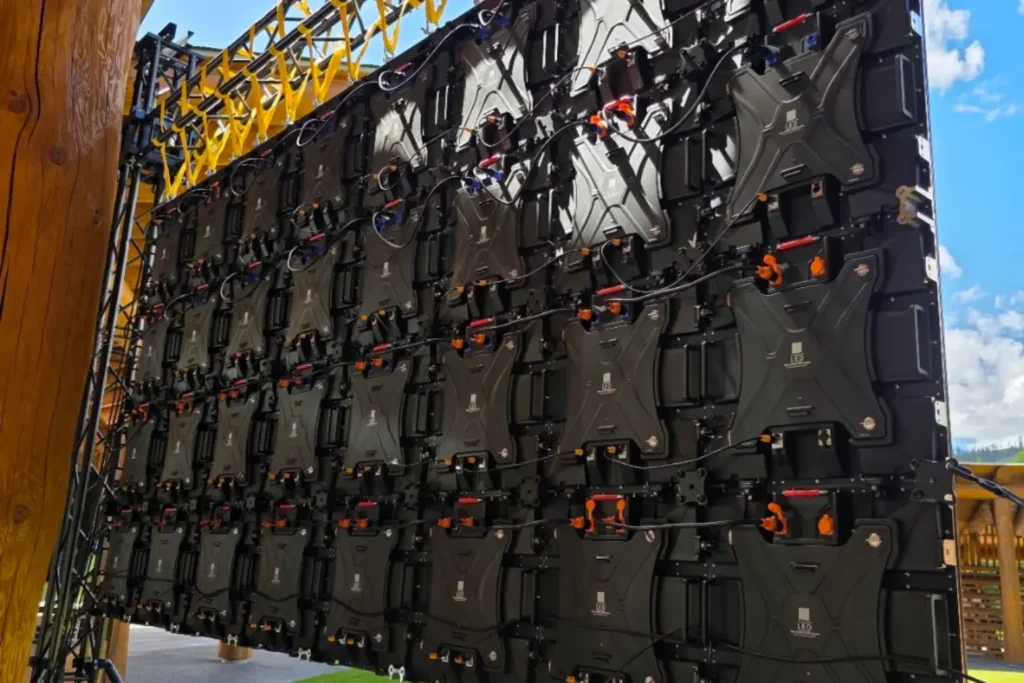
- Remove the suspected module and replace it with a known-good spare.
- If the problem follows the module, the module itself is faulty.
- If the problem stays in the same location, it’s probably a power or data connection issue.
That five-minute test saves a surprising amount of troubleshooting.
It’s also something we walk every church through after installation instead of expecting volunteers to figure it out from a manual.
How Module Replacement Actually Works
Every installation we complete uses front-service modules.
That means a technician—or even a trained volunteer—can replace a module from the front of the display without taking anything apart behind the wall.
The process is simple:
- Remove the faulty module using a vacuum tool.
- Disconnect the power and data cables.
- Install the replacement module.
- Reconnect power and data.
- Let the built-in magnets lock the module back into place.
The entire process typically takes one to three minutes per module.
For volunteer AV teams, that’s often the difference between fixing the display before Sunday service and staring at a dark patch for the entire week.
GOB vs. SMD: Is It Worth the Upgrade?
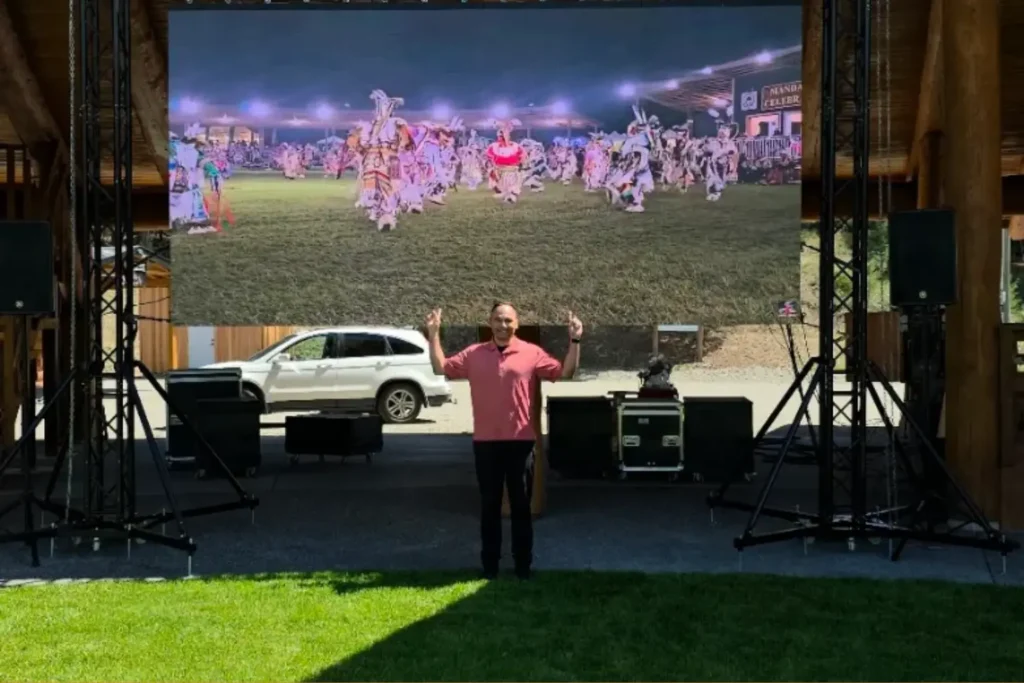
Most installations use standard SMD modules, which perform perfectly well under normal conditions.
However, if your stage sees a lot of activity—a full worship band, children’s programs, moving instruments, or frequent rehearsals—it’s worth considering GOB modules.
GOB stands for Glue On Board.
These modules have a protective epoxy coating that shields the LEDs from scratches and accidental impacts.
It’s one of the first upgrades we recommend during church consultations because it can dramatically reduce repair calls over the lifetime of the display.
The Part Almost Nobody Explains Up Front
Here’s the detail that rarely gets discussed until it’s too late.
Every LED module comes from a specific production batch.
Each batch is calibrated slightly differently for brightness, color, and contrast.
That means if your display is several years old and you suddenly need replacement modules—or even an entire cabinet—a brand-new production run won’t necessarily match your existing screen.
Even after calibration, you may notice a section that’s slightly brighter or a little different in color.
Finding modules from the original production batch several years later can be surprisingly difficult, even through your original supplier.
That’s why ordering spare modules from the same production batch during your initial purchase is one of the smartest—and most overlooked—decisions a church can make.
It’s easy to focus entirely on comparing video wall cost between suppliers and choosing a screen size.
But long-term serviceability is often what determines whether a repair becomes completely invisible—or something your congregation notices every Sunday.
What Repairs Actually Cost—and How Long They Take
Typical module repairs usually cost between $40 and $120.
If an on-site technician visit is required, expect approximately $300–600.
Working with a Canadian-based supplier generally looks like this:
- 1–3 business days for in-house repair
- 5–7 business days for shipping within Canada
- Approximately 1–2 weeks from start to finish
Compare that with many overseas suppliers, where replacement modules can take several months—or may no longer be available if the original production batch has been discontinued.
That’s something worth considering whenever you’re evaluating an LED display.
That’s something worth considering whenever you’re comparing led screens for sale. The purchase price is only one part of the total cost of ownership.
How We Handle Repairs In-House
Every repair we complete is handled right here in Canada.
We don’t send modules to third-party repair shops or overseas service centers.
For small failures like a dead pixel—or even a tiny dead pixel cluster—we often don’t replace the entire module.
Instead, our technicians replace the individual LED diode under a microscope using components from the original production batch.
Afterward, we recalibrate the module so the repair blends seamlessly with the rest of the display.
No noticeable color shift.
No brightness mismatch.
Many churches first experience this level of support by choosing our LED screen for rent before making a purchase. Renting allows them to evaluate brightness, viewing angles, and overall performance inside their own sanctuary before investing in a permanent installation.
Basic Tools for LED Wall Maintenance
For churches that want to handle basic LED wall maintenance in-house, having the right tools can make module replacement much easier.
A typical maintenance kit may include a vacuum suction tool for removing front-service modules, a multimeter for checking power connections, precision screwdrivers, and ESD protection equipment to help protect sensitive electronic components.
Professional tools from suppliers like Klein Tools Canada are commonly used by technicians working with electrical and electronic systems.
How to Protect Your Wall Going Forward
- Choose GOB modules if your stage experiences heavy activity.
- Keep instruments and microphone stands a safe distance from the display.
- Avoid spraying liquids anywhere near the screen.
- Install a small protective barrier if needed.
- Order spare modules from the original production batch.
None of these precautions require a major budget—just a little planning before the display is installed.
Final Thoughts
A guitar bumping into the display, a fallen microphone stand, or a dead pixel cluster after several years are all normal parts of owning a large LED display.
The difference between a repair that’s fast and invisible versus one that’s slow and obvious usually comes down to two things:
- How serviceable the display was designed to be.
- Whether your supplier can still provide matching replacement modules years later.
That’s the philosophy behind every church display we install.
Our goal isn’t simply to deliver a bright screen today—it’s to make sure it still looks seamless five or even ten years from now, backed by a team that’s still around when you need support.
If your church is dealing with a damaged display, planning a new installation, or simply wants a second opinion before choosing a supplier, contact us. We’d be happy to help.