An
LED video wall project involves far more than picking a screen size and placing an order. From pixel pitch calculations to structural engineering and content management, each phase determines whether the final installation delivers reliable performance or becomes a costly headache. This guide walks through the entire process, from initial concept to post-installation support.
1. Define Project Goals and Use Case
Before evaluating hardware, clarify the wall’s primary function. A retail storefront display, corporate lobby installation, control room monitor, or concert stage screen each demand different specifications for brightness, resolution, and viewing angles.
- Indoor vs. outdoor: Outdoor walls require higher nit brightness (5,000+ nits) and IP65-rated weatherproofing.
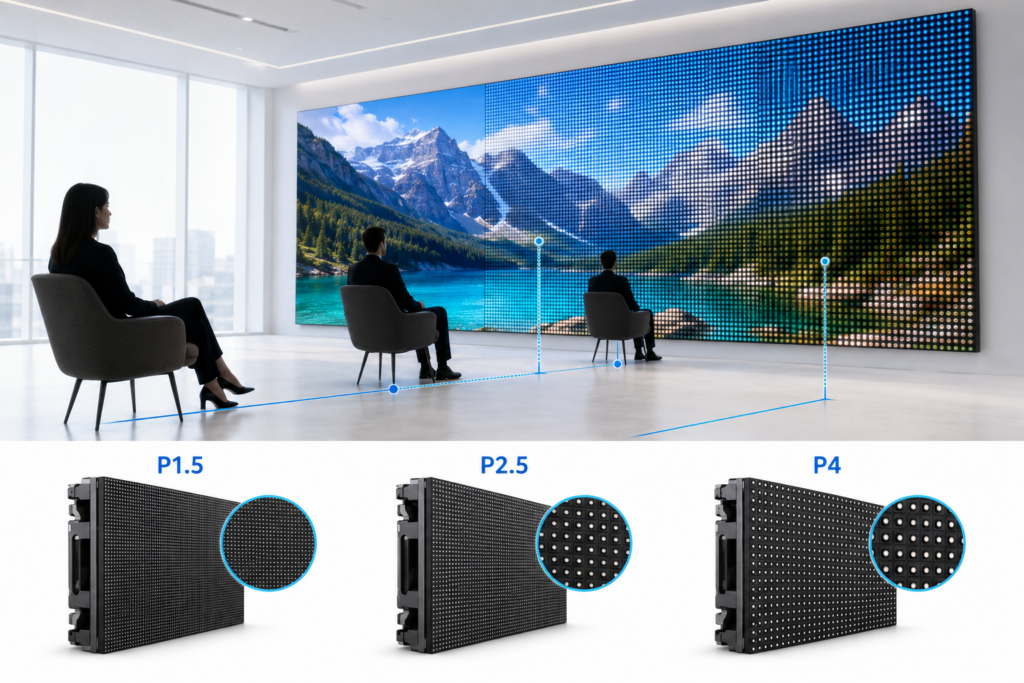
- Viewing distance: Determines the appropriate pixel pitch—closer viewing requires finer pitch (P1.2-P2.5), while distant viewing allows coarser pitch (P4-P10).
- Content type: Static signage, live video, or data visualization affects refresh rate and processing requirements.
2. Establish a Realistic Budget
LED video wall costs extend beyond the panels themselves. A comprehensive budget should include:
- LED panel/module costs (typically priced per square meter)
- Structural mounting or rigging hardware
- Video processors and controllers
- Cabling, power distribution, and data infrastructure
- Installation labor and rigging crews
- Ongoing maintenance and content creation
Budget an additional 15-20% contingency for unforeseen structural modifications or electrical upgrades discovered during site surveys.
3. Conduct a Site Survey
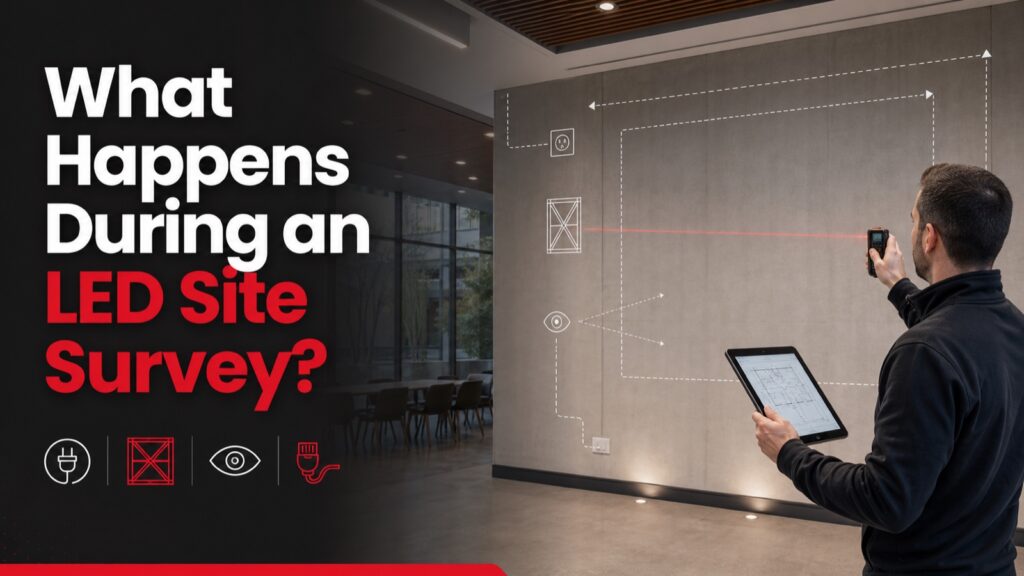
A thorough site assessment prevents costly surprises during installation. Key elements to evaluate include:
- Structural capacity: Verify walls, ceilings, or rigging points can support the wall’s weight, often 15-40 lbs per square foot depending on panel type.
- Power availability: LED walls draw significant power, especially at full white brightness; calculate maximum wattage and confirm circuit capacity.
- Ambient lighting: Sunlight exposure or interior lighting affects the required brightness and anti-glare treatment.
- Ventilation: LED panels generate heat; enclosed installations need adequate airflow or active cooling.
- Cable pathways: Plan routing for data and power cables to minimize visible wiring and signal interference.
4. Select the Right Pixel Pitch and Resolution
Pixel pitch—the distance between LED clusters—directly determines image clarity at a given viewing distance. Use this general formula: optimal viewing distance (in feet) equals pixel pitch (in millimeters) multiplied by 3 to 5.
- P1.2-P1.9: Control rooms, broadcast studios, close-proximity retail displays
- P2.5-P3.9: Corporate lobbies, conference rooms, indoor stages
- P4-P6: Large venues, auditoriums, mid-range outdoor signage
- P8-P10: Billboards, stadium screens, long-distance outdoor viewing
Also confirm the required resolution matches content source formats to avoid scaling artifacts.
5. Choose the Right LED Panel Type
Panel selection affects durability, serviceability, and image quality:
- Front-service vs. rear-service: Front-service panels simplify maintenance in tight spaces where rear access is impossible.
- SMD vs. COB technology: Surface-mount diodes (SMD) offer cost efficiency, while chip-on-board (COB) delivers better durability and finer pixel pitches.
- Curved or flat configurations: Confirm whether the desired aesthetic requires curved cabinets for immersive installations.
- Refresh rate: High refresh rates (3,840Hz+) prevent banding artifacts when filmed by cameras, critical for broadcast or event applications.
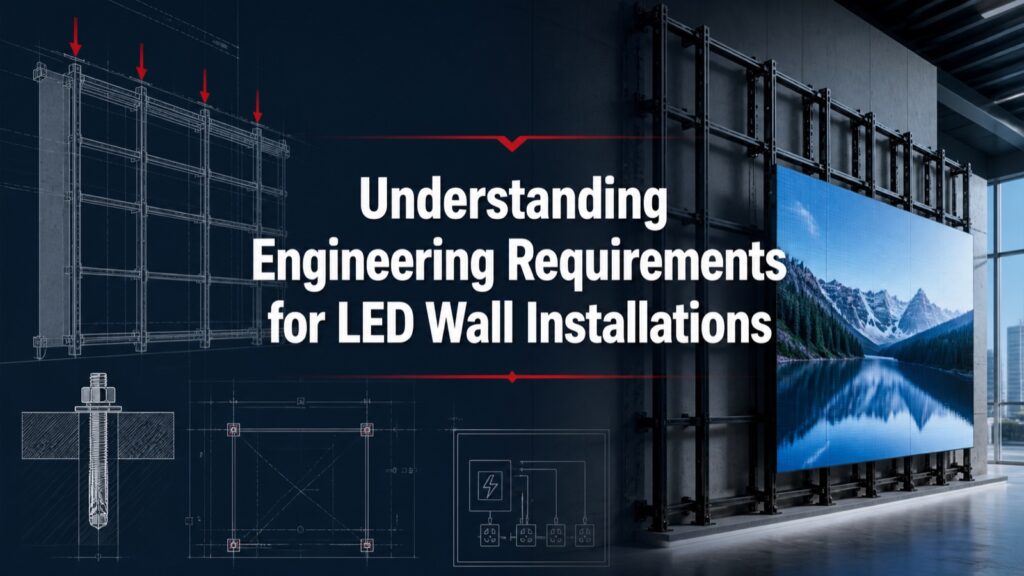
6. Plan Structural and Mounting Requirements
Work with a structural engineer to design a mounting system appropriate for the venue. Considerations include:
- Wall-mounted flat installations vs. suspended rigging for stage productions
- Load calculations factoring in dynamic forces for outdoor installations exposed to wind
- Access panels for future maintenance without full disassembly
- Expansion joints for large-format walls to accommodate thermal expansion
Non-compliant structural installations pose serious safety risks and often violate local building codes, so permits and engineering sign-off are essential steps.
7. Select Video Processing and Control Systems
The video processor converts content into a signal the LED wall can display, handling scaling, color calibration, and multi-screen synchronization. Key considerations:
- Input compatibility: Ensure the processor supports required inputs (HDMI, SDI, DisplayPort, fiber optic for long-distance runs).
- Redundancy: Mission-critical installations should include backup processors and failover power supplies.
- Content management software: For digital signage networks, choose a CMS platform that supports remote scheduling, playlist management, and real-time monitoring.
8. Plan Power and Data Infrastructure
Proper electrical planning prevents flickering, downtime, and safety hazards:
- Dedicated circuits sized to handle peak power draw with margin for future expansion
- Surge protection to safeguard sensitive electronics
- Data cabling (Cat6 or fiber) run separately from power lines to avoid interference
- Backup power or UPS systems for critical applications like control rooms or broadcast environments
9. Schedule Installation and Testing
Installation timelines vary based on wall size and complexity, but typically follow this sequence:
- Structural framework and mounting hardware installation
- Panel mounting and cabling
- Power-up and initial diagnostics
- Color calibration and brightness uniformity adjustments
- Content testing across all input sources
- Client walkthrough and operator training
Always schedule a buffer period between installation completion and the live launch date to address calibration issues or panel replacements.
10. Plan for Long-Term Maintenance
LED video walls require ongoing care to maintain performance:
- Routine cleaning to prevent dust accumulation affecting brightness and cooling
- Firmware updates for processors and control systems
- Spare panel inventory for rapid replacement of failed modules
- Service agreements with the installer or manufacturer for warranty support
Establishing a maintenance contract upfront reduces downtime risk and extends the wall’s operational lifespan, often 60,000-100,000 hours for quality LED components.
Final Considerations
A successful LED video wall project depends on aligning technical specifications with real-world use cases, securing structural and electrical readiness, and partnering with experienced integrators. Thorough planning at each phase—from site survey through post-installation support—minimizes risk and ensures the display performs reliably for years to come.