Hi everyone,
My name is Artur, and I’m a technician with Canadian LED. Over the years, I’ve worked on a wide range of LED display installations — from outdoor billboards and concert stages to indoor conference halls and places of worship.
Today, I want to walk you through one of our recent projects that I’m especially proud of — a 15×8 ft LED display installation at Ruach Church in Calgary. It’s a great example of what goes into building a professional LED setup for a church, step by step.
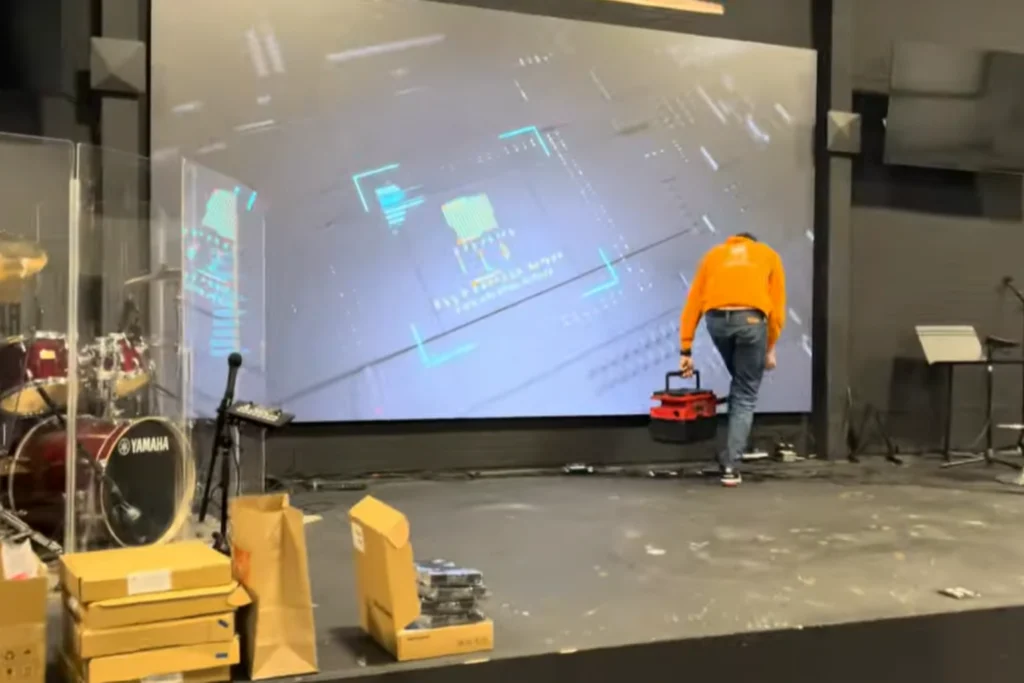
Before we dive into the details, here’s a short video overview of the installation. It shows the full process — from unboxing the equipment to lighting up the final screen.
🎥 Watch the full installation video: Watch on YouTube
Why This Project Mattered
Churches today are embracing digital displays more than ever. Whether it’s for worship lyrics, live video, or sermon visuals, LED displays for churches make the entire experience more engaging and dynamic.
Ruach Church wanted a high-resolution indoor LED wall that would be both visually stunning and durable. We went with a 2.5mm pixel pitch display, which offers crisp clarity even from close viewing distances — perfect for a congregation setting.
Step 1: Preparing the Equipment
Every good installation starts long before we step onto the site. We begin by organizing all the required components:
- LED cabinets and modules
- Data cards
- Power supplies
- Construction tools and mounting hardware
For this project, we used 28 LED cabinets to form a seamless 15×8 ft display. Preparation is key — making sure every part is tested and ready helps avoid surprises later on.
Once everything was ready, we used a laser level to mark out the screen position on the wall. This step is critical because the entire alignment of the LED display depends on getting the first row perfectly straight. Even a small error at the bottom can magnify as you build upward.
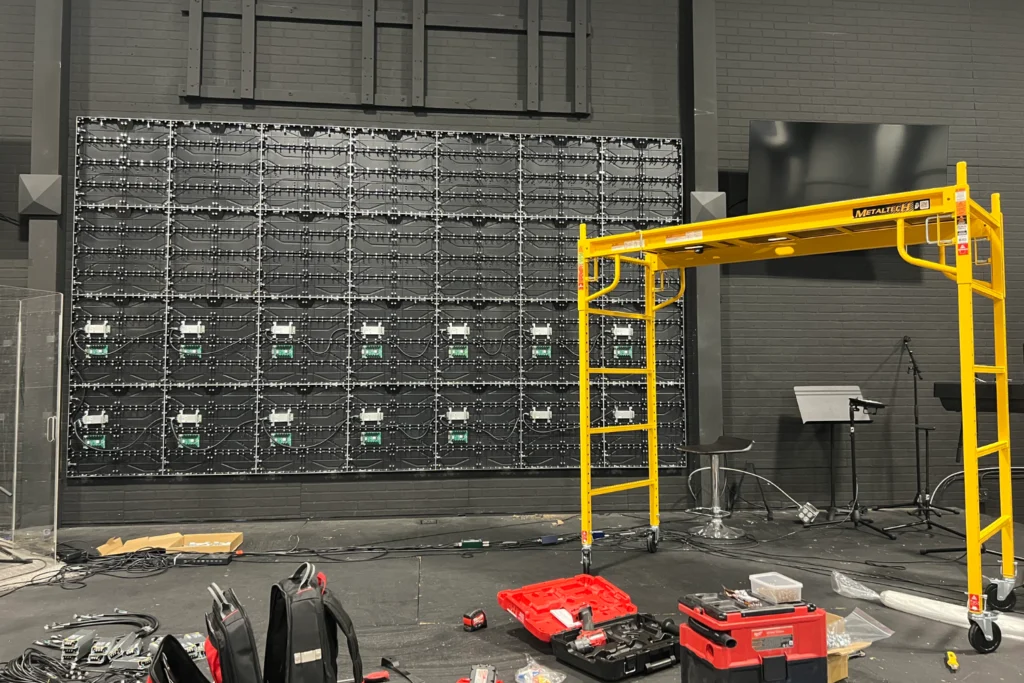
Step 2: Mounting the LED Cabinets
With our laser level marks in place, we began securing the first row of cabinets. We used side mounts to connect the cabinets to each other and four-point screws to anchor them to the wall.
The first row always takes the most time and precision. Once it’s level and secure, the rest of the installation flows smoothly. After completing the first row, we continued adding cabinets one by one until the entire structure was in place — 28 cabinets assembled like digital building blocks.
Step 3: Setting Up Power and Electrical Safety
After the structure was ready, we moved on to the electrical setup — which is just as important. Each LED cabinet needs its own power supply, and we always use equipment that’s CSA and UL certified for Canada and the U.S.
This ensures the system operates safely and meets all electrical standards. Cheap, uncertified components might save a few dollars upfront, but they can overheat, fail, or even cause fire hazards — not something you ever want in a building, let alone a church.
Our total display drew about 35 amps of power, so we ran two separate 110V / 20A lines directly from the breaker panel. Each line was daisy-chained to 14 power supplies. This setup keeps the current balanced and prevents overloads.
Step 4: Data and Signal Connections
Once power was ready, it was time to bring the picture to life. Every LED cabinet has a data card, which sends the signal to individual modules and pixels.
We installed and wired each data card to its corresponding power supply, then linked them together with Cat5 data cables in a daisy-chain layout.
Finally, we connected the entire LED display to the controller — the “brain” of the system. Most professional controllers support a limited number of pixels per output port, so in this case, we used four separate data cables, each handling one row of the display. This helps distribute the signal evenly and ensures smooth playback across the whole screen.
Step 5: Installing the LED Modules
With the structure, power, and data systems complete, it was time for the most rewarding part — mounting the actual LED modules.
For this project, we used 2.5mm GO modules, which have an epoxy coating for extra protection. The “GO” stands for “glue-on,” meaning the surface is sealed, making the modules more resistant to dust, moisture, and physical impact.
That’s especially useful in a church environment, where the stage might host live bands or kids’ activities. If a drumstick or microphone stand ever bumps into the wall, the modules stay protected.
Each module connects with two simple cables — one for power, one for data — and attaches magnetically to the cabinet frame. This magnetic system makes installation and maintenance fast and seamless.
One by one, we connected and aligned every module until the entire display came together. When we powered it up for the first time, that bright, seamless image filled the stage backdrop — always a satisfying moment.
Step 6: Testing and Calibration
Once the display was fully assembled, we performed several rounds of testing. We checked:
- Signal consistency across all modules
- Brightness and color uniformity
- Heat levels and power load
- Alignment and pixel mapping in the control software
Everything tested perfectly. After the final adjustments, we cleaned up the workspace and trained the Ruach Church media team on how to operate the display — from powering it on to updating visuals for weekly services.
We always include a hands-on training session so the client feels confident using their new system. It’s one of those small details that make a big difference long-term.
Step 7: The Final Result
When everything came together, the transformation was incredible. The 15×8 ft LED display instantly became the centerpiece of the church stage — delivering clear, vivid visuals even under bright lighting.
Whether they use it for song lyrics, live camera feeds, or sermon graphics, it completely enhances the worship experience.
And best of all, it’s built to last — with a reliable power setup, high-quality components, and a clean, professional installation that’s easy to service in the future.
How Much Does a Church LED Display Cost?
One of the most common questions we get after installations like this is about pricing.
The video wall cost can vary depending on several factors:
- Screen size and resolution (pixel pitch)
- Indoor vs. outdoor use
- Type of control system
- Installation complexity (wall-mounted, hanging, etc.)
- Local electrical requirements
While small church displays can start around a few thousand dollars, larger, higher-resolution setups like this one can go significantly higher.
If you’re exploring options, it’s best to get a professional quote tailored to your building, layout, and content needs.
Why Choose Professional Installation
A proper LED display installation isn’t just about mounting panels — it’s a combination of electrical safety, precision alignment, and signal management. Each of these steps plays a critical role in the screen’s performance and lifespan.
As someone who’s worked in this industry for years, I’ve seen what happens when corners are cut — flickering screens, uneven brightness, even complete failures due to poor wiring or ventilation.
That’s why working with an experienced team matters. We handle everything from power planning and hardware configuration to post-installation calibration.
Thinking About Getting an LED Display for Your Church?
If you’re considering upgrading your worship experience, now’s a great time to explore your options. Modern LED displays are more affordable, energy-efficient, and easier to operate than ever before.
Whether you’re ready to buy LED display for your church or just want to understand what setup would best fit your space, our team is happy to help. We can design a system that matches your budget, room layout, and technical needs.
Final Thoughts
This Ruach Church project was a rewarding experience — both technically and personally. Seeing the church members’ reaction when the display first lit up reminded me why I love what I do.
Every installation is different, but the goal is always the same: deliver a flawless display that brings messages, music, and moments to life.
If you found this walkthrough helpful, check out the full installation video above and subscribe for more behind-the-scenes projects.
And if you’re thinking about bringing professional LED visuals to your space, don’t hesitate to reach out — we’re here to help bring your vision to life, one pixel at a time.