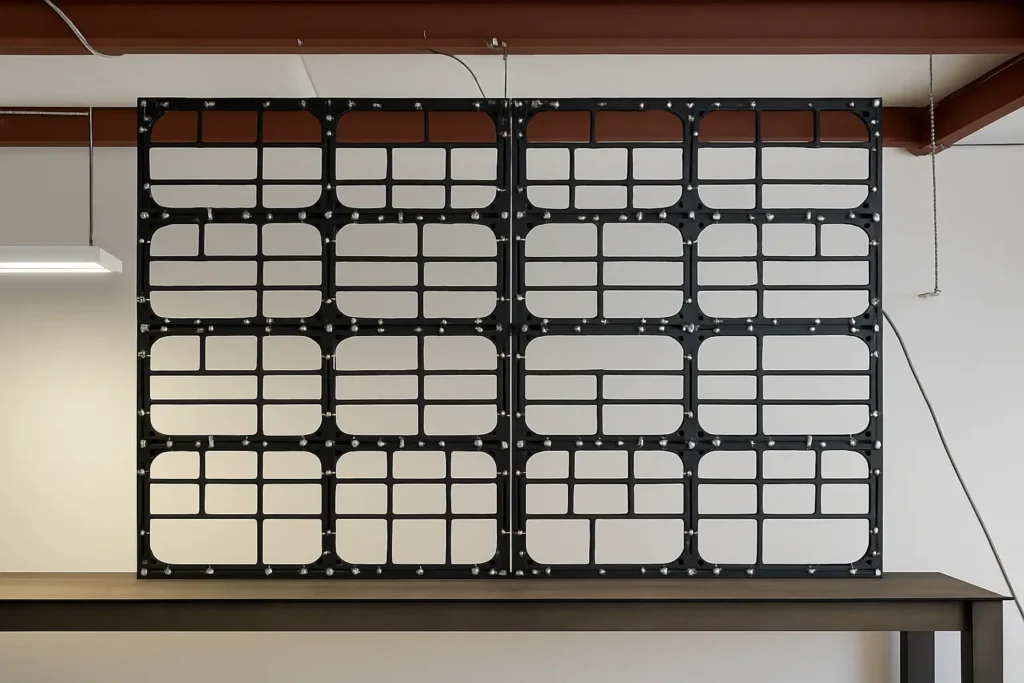
Step 1: Understand What an LED Display Is
Before we get into operating the screen, let’s make sure we’re on the same page. An LED screen is made up of many small light-emitting diodes that form pixels and together display images, video, and graphics. These displays are modular, meaning they consist of multiple LED wall panels, which can be assembled into various shapes and sizes. This flexibility is why LED screens are everywhere—from shopping malls to sports arenas. For events, they’re often used for stage backdrops, sponsor loops, live feeds, and announcements. If you’re new to LED tech, I highly recommend reading our beginner article on pixel pitch and what causes LED screen damage to get a better grasp of the core concepts.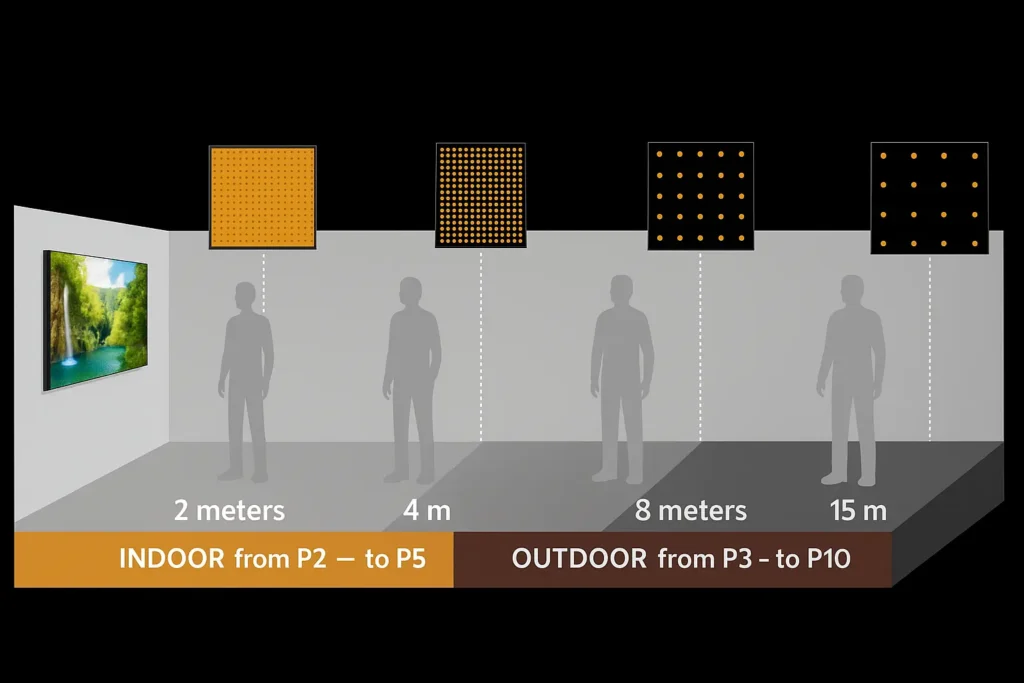
Step 2: Powering On and Connecting the Screen
This part might seem intimidating, but with a bit of guidance, you’ll be powering up like a pro.- Check Power Supply: Make sure the screen is connected to a reliable power source. Most professional LED video walls require 110V–220V depending on their configuration. Always ensure voltage stability to prevent damage.
- Turn On in Sequence: Start with the power distribution unit, then the processor, and finally the LED cabinets. This prevents current spikes that can harm components.
- Connect the Controller: This could be a laptop or a video switcher, depending on what content you’re showing. Your controller will talk to the screen via a control system (like Novastar or Colorlight).
Step 3: Calibrate Brightness, Contrast, and Color
Even if everything is connected correctly, your LED screen won’t look its best unless it’s properly calibrated.- Brightness: Adjust according to the ambient light in the room. Outdoor LED displays need more brightness than indoor LED screens.
- Contrast Ratio: This is what makes your images pop. Learn why contrast matters in our article on contrast ratio.
- Color Balance: Use the software that comes with your controller to fine-tune reds, greens, and blues.
Step 4: Upload and Manage Content
You can show videos, slides, real-time camera feeds, or anything else on an LED screen. Here’s how to manage it effectively:- Use the right format: Check your screen resolution and match it with your content dimensions.
- Use software tools: Most LED walls come with software like NovaStar’s ViPlex or LEDStudio for real-time content updates.
- Backup your content: Always have a USB or a second laptop ready in case of emergency.
Step 5: Monitor and Troubleshoot in Real Time
Things can go wrong. Maybe a panel loses connection. Maybe your source stops sending videos. That’s where a good tech team comes in handy, but here are some simple checks:- Look for error lights on your processor.
- Reseat cables to ensure connection.
- Reboot the affected module or control system.

Bonus Tips from the Field
- Practice before the event: Set up your screen the day before. Walk through the content. Test your connections.
- Account for video wall cost: A high-quality setup might seem expensive upfront, but it saves you headaches in the long run. Plus, we’ve helped clients offset the cost by offering sponsorship packages that include ad spots on the LED wall.
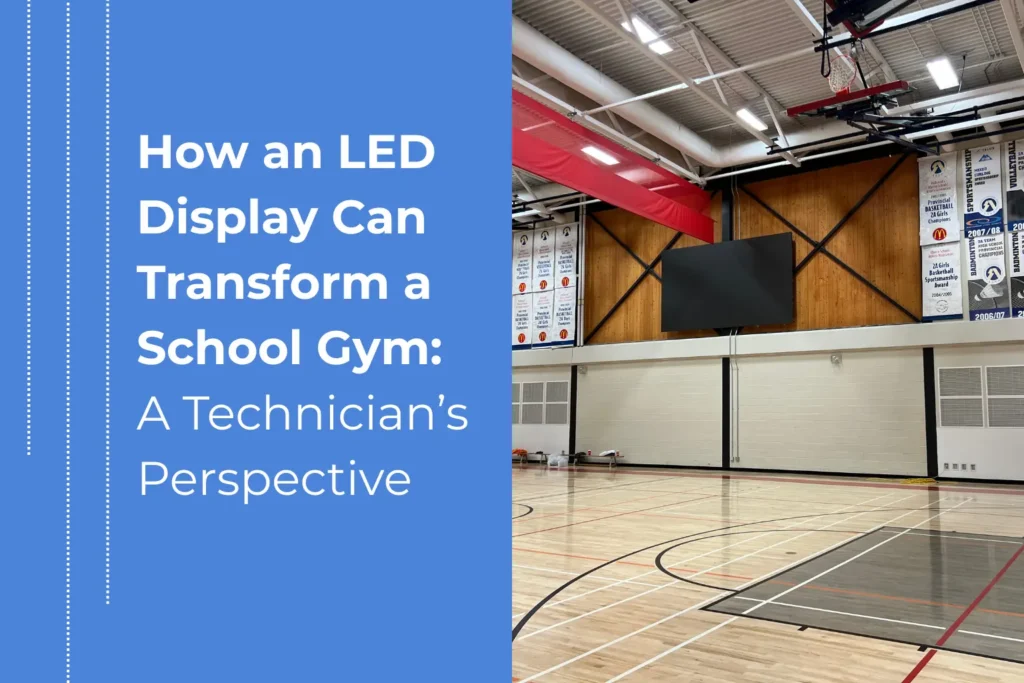
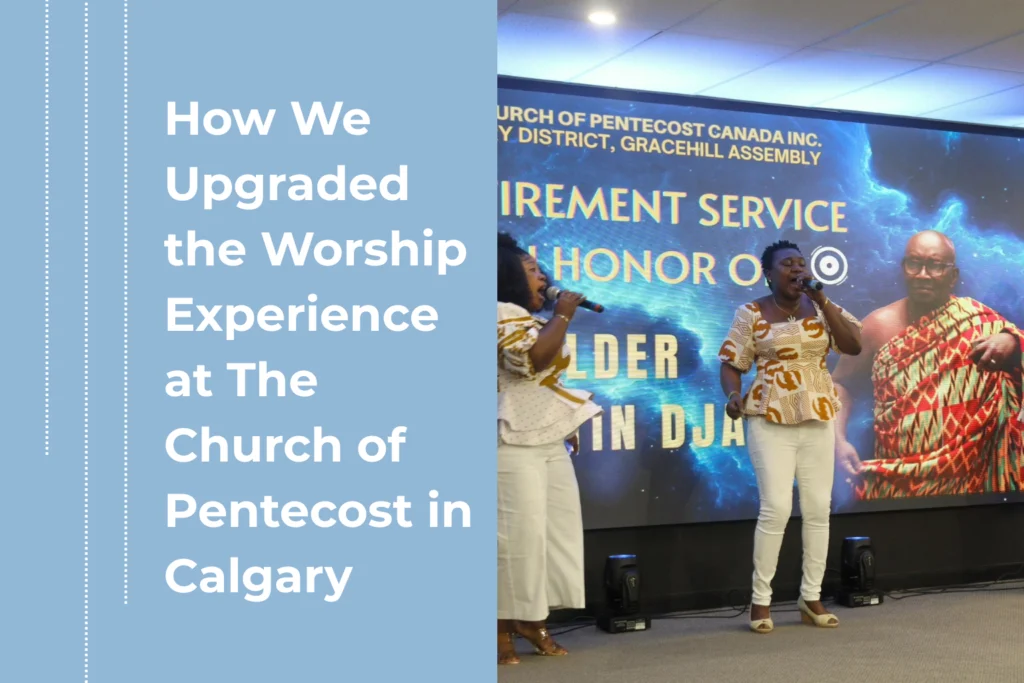
- Use LED screens for churches: One of the most fulfilling parts of my job is helping ministries transform worship spaces with vibrant visuals and lyrics displays. It enhances engagement and helps connect with the congregation in a powerful way.
- Consider alternatives and accessories: For smaller venues or temporary needs, projectors or portable lamp-based systems may be worth exploring. They don’t match the clarity of an LED wall, but they can still deliver solid results for certain budgets and settings. Check out Epson’s projector range or Philips LED lighting solutions.