Understanding LED Walls
Before diving into the installation process, let’s first make sure we’re on the same page about what an LED wall is and why it’s such a fantastic option for events, advertising, and more. An LED wall is a large screen made up of multiple LED wall panels. These panels are arranged in a grid to form a seamless display surface. The key advantage of LED walls over traditional screens or projectors is that they offer excellent image quality, high brightness, and can work well in a variety of lighting conditions—whether indoors or outdoors. But let’s take it a step further. The two main types of LED wall setups I deal with are:- Indoor LED Walls: These are usually smaller, high-resolution screens used for conferences, trade shows, and indoor events where the audience is up close.
- Outdoor LED Walls: These are bigger, often used for large events like concerts, sporting events, and outdoor advertising. They need to be bright enough to work under direct sunlight and designed to handle the elements.
Step 1: Preparing for Installation
Choosing the Right LED Wall Panels
Before you start setting up your LED wall, the first thing to do is choose the right LED wall panels. The quality of these panels will directly impact the performance of your display. From my experience at Canadian LED, here are the factors to consider when choosing panels:- Pixel Pitch: The pixel pitch is the distance between individual pixels on the panel. A smaller pixel pitch results in higher resolution, which is important for close-up views, like in conference rooms. For outdoor events, a larger pixel pitch might be sufficient since the audience will be farther away.
- Brightness: If you’re installing the wall outdoors or in a bright environment, ensure that the panels have high brightness levels (measured in nits). Outdoor LED walls should have a brightness of at least 5,000 nits to make sure they remain visible in direct sunlight.
- Panel Size: The size of the panels should be selected based on the space where they’ll be installed. Some setups may require large panels, while others can make do with smaller ones, depending on the venue and the display goals.
Venue Assessment
Once the panels are selected, it’s time to evaluate the venue where the wall will be installed. Is it an indoor venue with controlled lighting, or an outdoor space that will be exposed to weather conditions? In my experience, outdoor installations often require additional considerations, like weatherproof enclosures and cooling systems. For indoor setups, proper ventilation is key, especially if the wall is in a high-traffic area or near heat-generating equipment.Step 2: Mounting the LED Wall
Choosing the Mounting Method
Now that you’ve got your panels and venue sorted out, it’s time to mount the wall. There are three common mounting methods I work with:- Ground Supported: This is the most straightforward method, where the panels are supported on the ground by a frame or structure. This setup is perfect for temporary events, like a conference or concert, and is often the most cost-effective option.
- Flown Installation: For larger events or outdoor venues, I’ve often used a flown method where the LED wall panels are suspended from rigging above the venue. This method is commonly used in large concerts and festivals to ensure the display is visible from all angles.
- Wall-mounted: For permanent installations, I’ll often mount the LED wall panels directly on a wall, creating a sleek, integrated look. This method is often used for retail spaces or corporate offices.
Step 3: Wiring and Connections
With the panels securely mounted, the next step is to wire everything. This is where things can get tricky, especially for large installations. But no worries, I’ve got you covered.Power Supply
Each panel needs to be connected to a power supply. Depending on the number of panels and their power needs, you might need multiple power supply units. In some cases, outdoor setups will require specialized power supplies designed to handle weather exposure. It’s essential to ensure that all the power connections are secure and can handle the load.Data Connections
Once the power is sorted, you’ll need to connect the data cables from the control system to the panels. This is where it’s important to make sure everything is connected properly to avoid any interruptions in signal. The data cables are typically daisy-chained from one panel to the next, and it’s essential to ensure that the wiring is organized and well-protected.Step 4: Calibration and Configuration
Now that the wall is physically installed and connected, it’s time to configure the system. This step is crucial because it ensures your LED wall is displaying the content at its best possible quality.- Brightness and Contrast Adjustment: I always check the brightness and contrast levels of each panel to ensure uniformity. Each panel might have slight variations in brightness, so I make adjustments accordingly to ensure the display is consistent.
- Color Calibration: This is another important step. I make sure the color settings are uniform across all panels, so that the entire display has the same color tone. Poor color calibration can create a jarring effect that takes away from the overall impact of the display.
- Resolution Settings: Depending on the type of content you plan to display, it’s important to set the resolution accordingly. High-resolution content like videos and images will need a higher resolution, while text-heavy content like presentations may require a different configuration.
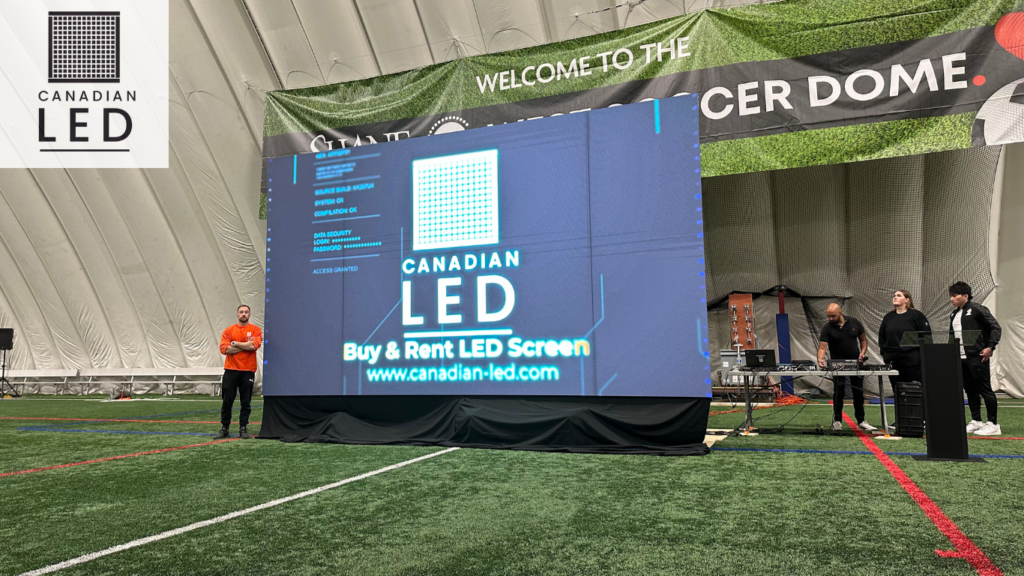
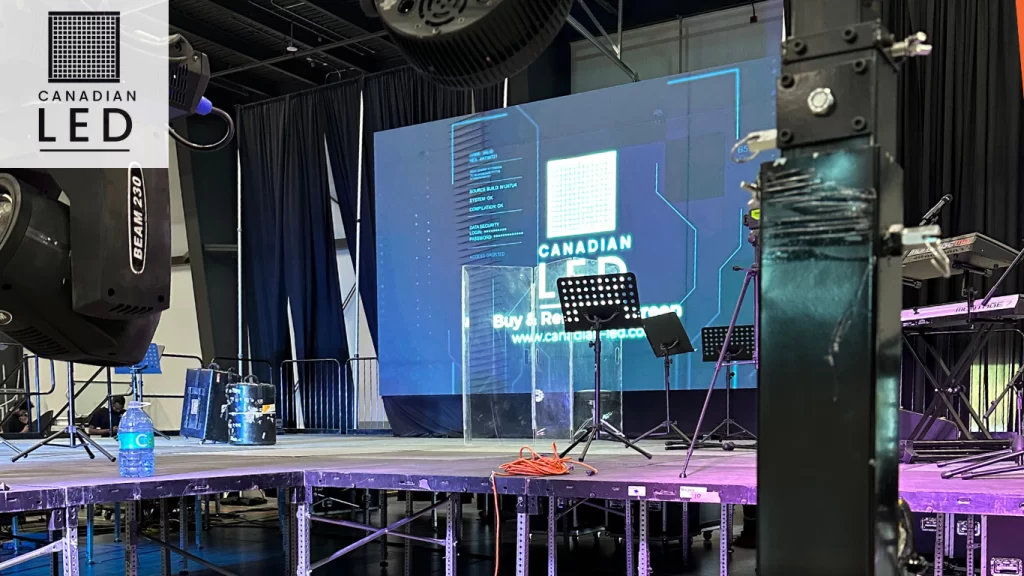
Canadian LED team preparing a vibrant indoor LED display for a live event at The Soccer Dome.
Step 5: Testing the LED Wall
Before your event or installation is complete, it’s essential to test the LED wall. Run content through the system to check for any dead pixels, alignment issues, or performance glitches. I always ensure that the display works perfectly by testing it under different lighting conditions and using different content types. I also check the connectivity and power distribution to make sure everything is running smoothly. A good test phase helps prevent any surprises during the actual event.Step 6: Post-Installation Care and Maintenance
Now that your LED wall is up and running, the work isn’t done just yet. Ongoing maintenance is key to ensuring your display lasts as long as possible. Here’s what I recommend:- Regular Cleaning: Dust and dirt can build up on the panels, especially in outdoor environments. I always recommend using a soft cloth to clean the panels regularly.
- Check Power and Data Connections: Over time, connections can loosen. I always check the wiring periodically to ensure everything remains secure.
- Monitor Temperature: Make sure the cooling systems are working effectively. LED walls, especially large ones, generate a lot of heat, so proper ventilation is essential to avoid overheating.
How Much Does LED Wall Installation Cost?
One of the biggest questions I get asked is about the video wall cost. As you can imagine, the price can vary greatly depending on several factors, such as:- Size of the LED wall: Larger walls will naturally cost more.
- Pixel Pitch: Smaller pixel pitches (which provide higher resolution) tend to be more expensive.
- Features: Features like increased brightness or advanced calibration options will add to the cost.